Painting Linoleum / Vinyl Floors
Yes, PAINT your floor. So, when one of my friends told me that her husband was going to do this to her floor we laughed at the idea, seems impossible. But after a little digging and research you really can paint just about anything...including floors!
Strip the Floor
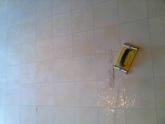
To make sure the paint can adhere to the floor it is important to strip the wax layer off the floor. I sanded the floor by hand but for bigger floors I recommend a power sander.
Degloss the Floor
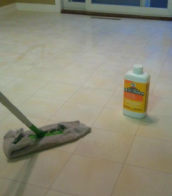
After I sanded the floors I used a liquid deglosser (found at Lowes or Wal-Mart in the paint isle). I just squirted the deglosser on the floor and literally mopped the floor with it.
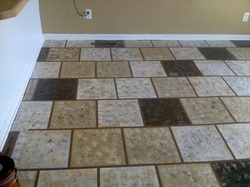
Paint Time!
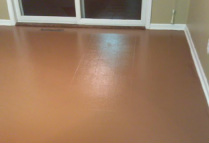
Ten minutes after the deglosser is applied it is dry and ready to be painted!!! I decided to try to paint my floor to mimic ceramic tiles. So, I painted my grout color first. I just used a paint roller and rolled the paint on the floor.
Tape it Off
I let the "grout" color dry over night. In the morning I taped the floor using .75" masking tape. Once I had the pattern I liked I got the paint ready.
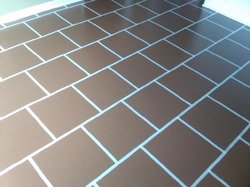
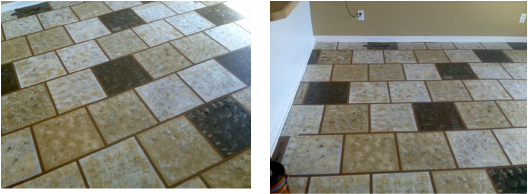
Sponge Time!!!!
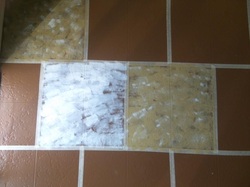
I focused on one square at a time and with a random pattern started to sponge. I wanted the floor to have 3 main tiles: dark tan, medium tan, and white. I would first sponge on the main color. For example, for the white tile I would sponge the majority if the tile with white. Then I would take the medium tan and add just a few sponges. Then I would dab in some light tan. Lastly, I would sponge in trace amount of dark tan/black.
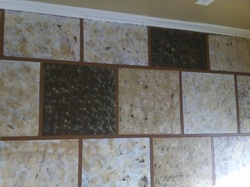
Make sure to pull the tape back once all blocks surrounding the tape are complete. Don't be afraid if some of the paint comes up with the tape...you can touch that up the next day.
Poly Time!!
After all blocks are filled let it dry over night. Next morning before adding the layer of polyurethane, touch up any places that need touched up. For example, if the tape pulled up a little of the "grout" color just dab a little of paint on the spot. Let the spots dry for about 4 hours and then start your poly layers. I used a 3" paint brush and painted a layer of poly using a fast drying water based polyurethane. Wait 2 hours and then apply 2 more coats.
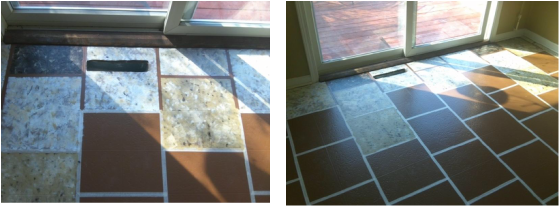
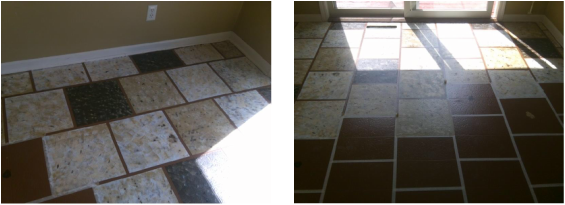
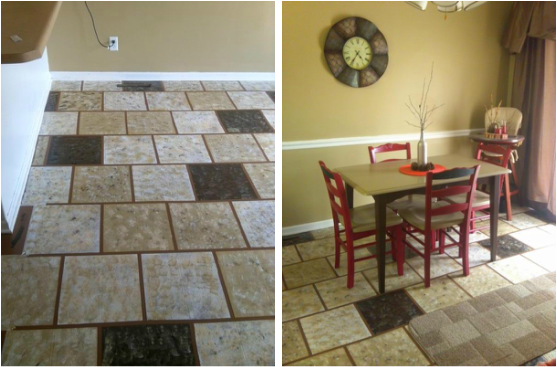
Chicly Cheap Painted Flooring
Breakfast Nook Painted Vinyl Flooring...
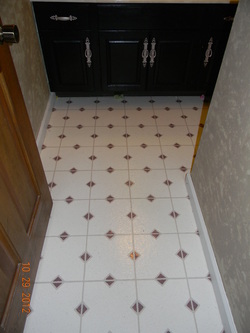
Paint Bathroom Floors
Two out of the three bathrooms I have in my house have VERY dated linoleum floors. After the kitchen and breakfast nook floors turned out so well decided to so the same to the bathroom floors. Time to PAINT the linoleum floors!
Beach Oasis
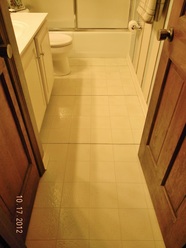
When I redid the downstairs guest bath I decided to make it a beach theme. After I was done painting the walls and adding decorations I noticed something was completely out of place....the very DATED floors. So I decided it was time to strip the linoleum floors and paint on a new beach floor. Check out my new chicly cheap beach oasis floor!
Chicly Cheap Beach Oasis Floor
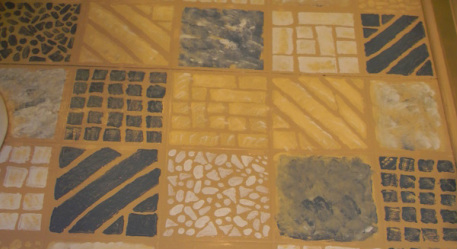
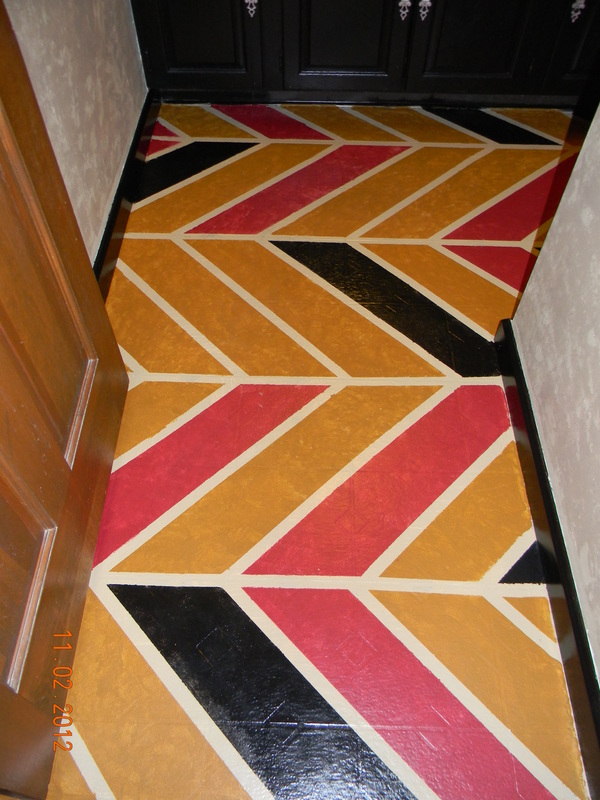
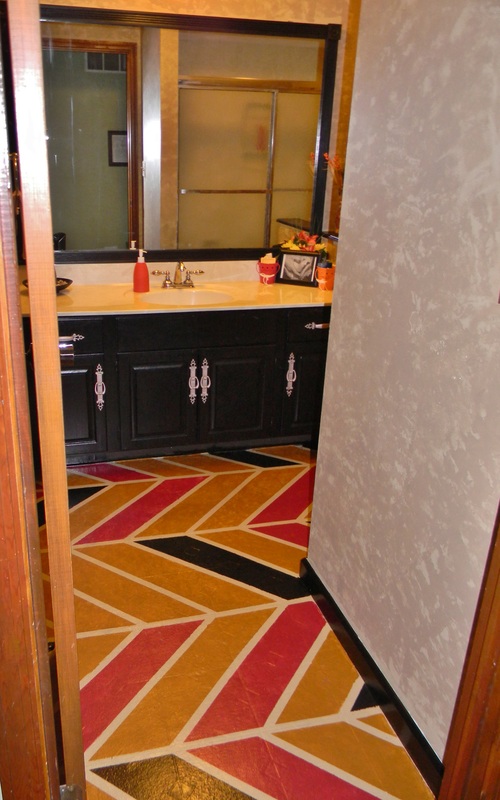
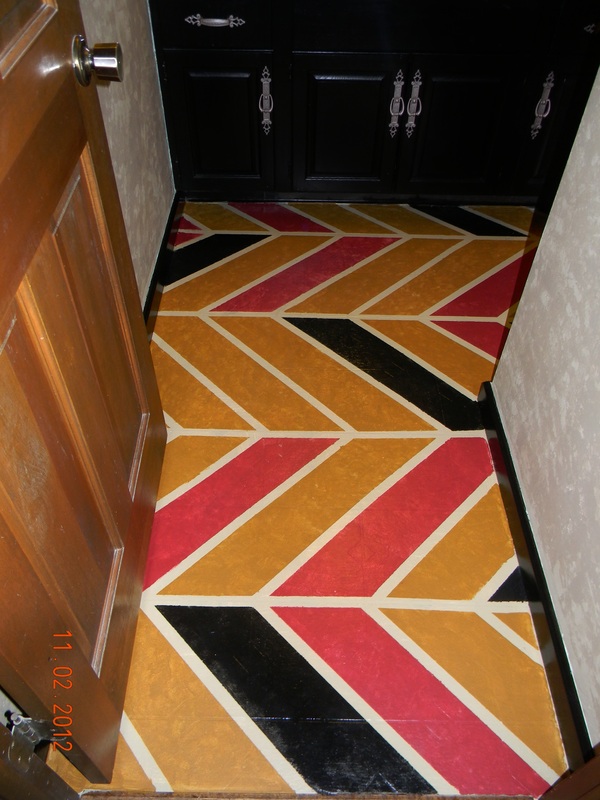
Chevron Floors
The upstairs main bath also had very dated linoleum floors that didn't quite go with the autumn transformation. So once again I decided to strip the gloss layer off the floor by sanding it and deglossing it. Then I painted on the new floor to match the autumn feel I had going in the main bath. Check out my chicly cheap chevron bathroom floor.
Tape Off Your Design
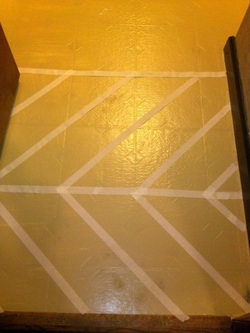
After stripping the floor (see top of page) I painted on my base color, tan. I let the top layer dry for a couple hours. Once completely dry I used 1" masking tape to tape off the design I wanted for the floor. I desided to go with a chavron pattern.
Sponge It On!!
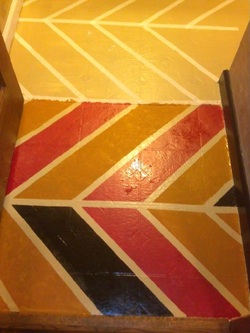
I decided to use red, black, and golden bronze paint. I used little sponges to sponge on the colors. In a random fashion I added color. After I finished a section I would remove the masking tape. If any pieces of the tan paint got pulled up I would touch it up as I went. After all the paint it completely dry add three layers of poly to seal the floor.