Updating Bathroom Vanity
When I first moved into my house the bathroom had little to desire. It was dull and boring and VERY outdated. I decided the first item to tackle in the bathroom which would made the niggest impact was the vanity.
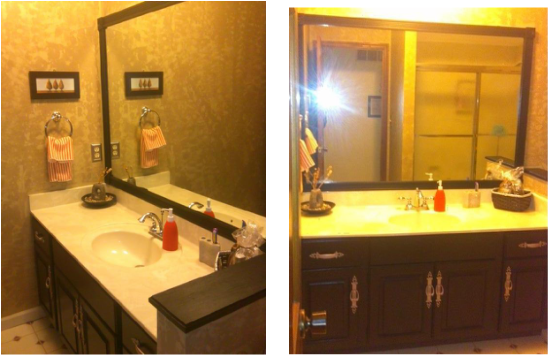
Add Trim
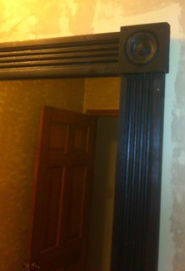
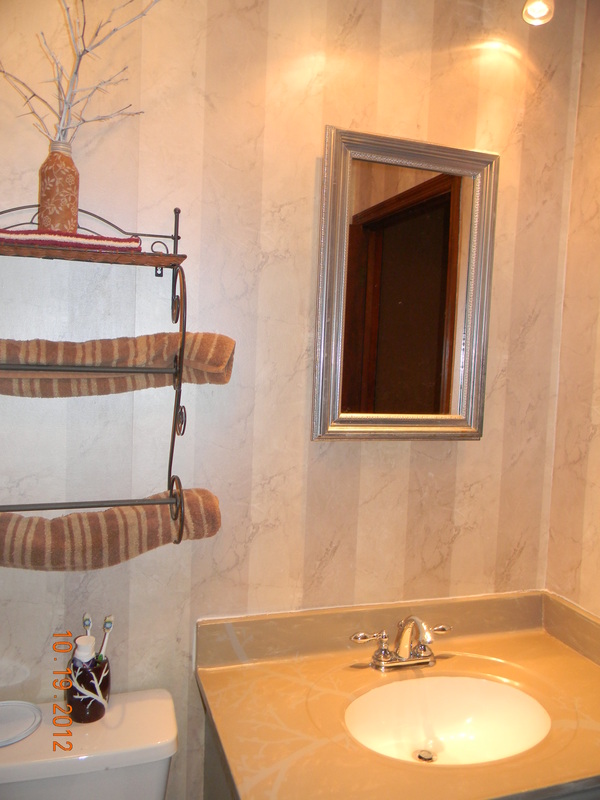
As you can see from the about picture the vanity mirror is very dated. I decided to get some decorative trim from Lowes. I also bought decorative corner pirces to add extra detail. I painted the trim black and let it dry. The next day we used glass coax to glue the trim to the mirror. We had to place boards agaist it to holdpressure. Let it dry over night and then remove the boards.
Paint, Paint, Paint
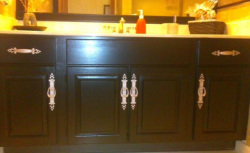
After I tackle the mirror I moved to the cabinet doors. I painted them with black semi-gloss paint. Took the handles off and spray painted them chrome. Check out my new Chicly Cheap Vanity!
Complete Vanity Update
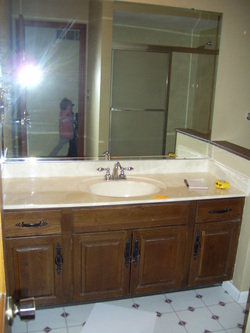
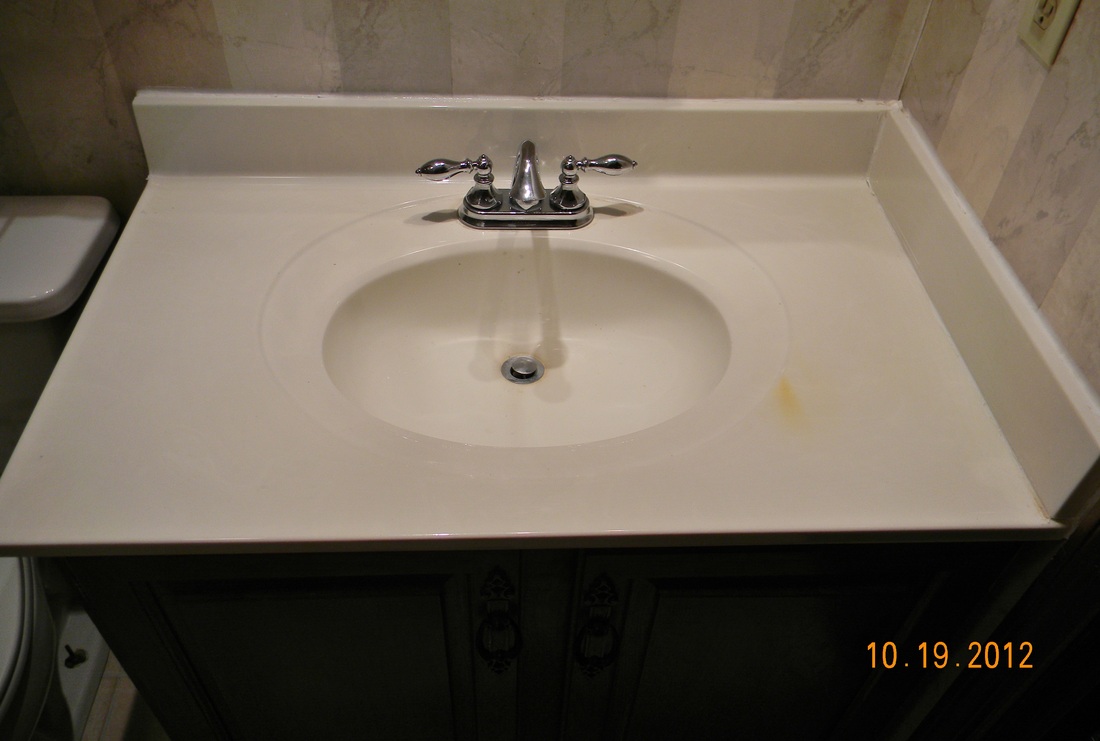
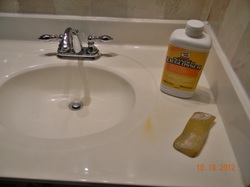
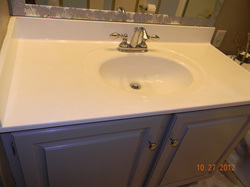
The Before...stained and boring
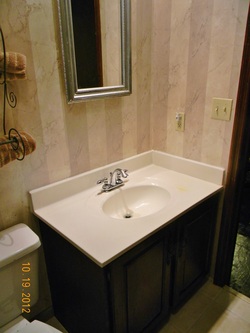
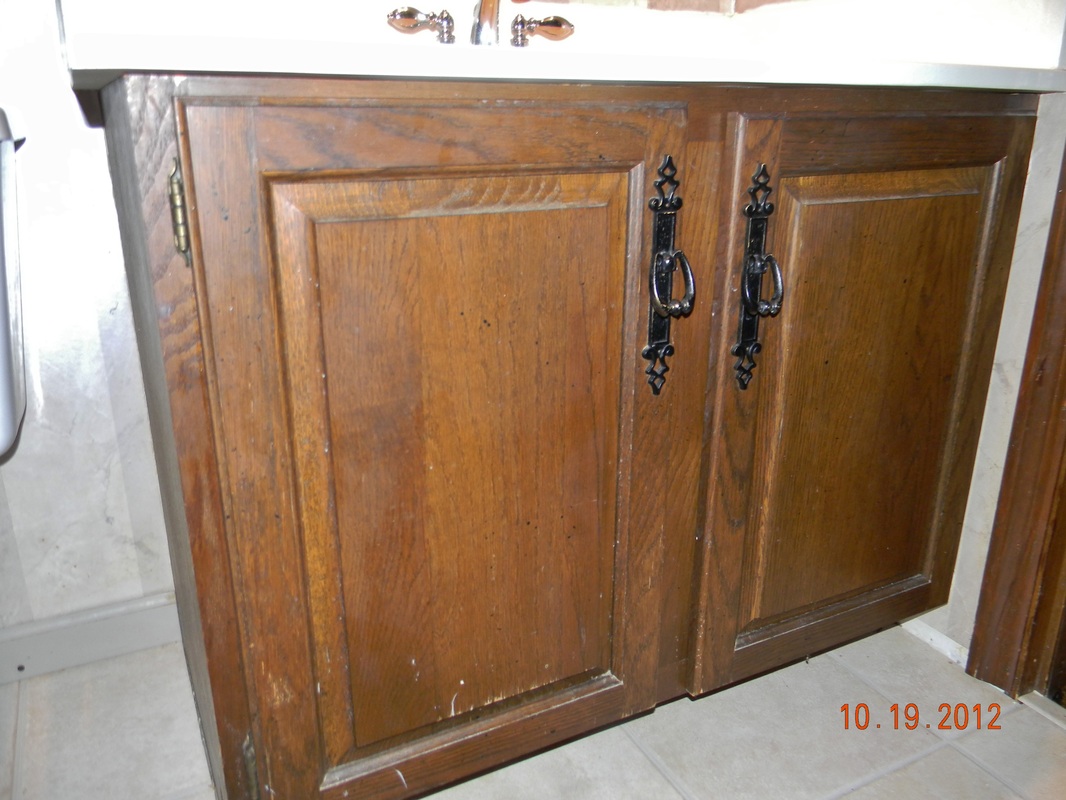
The master bath was also in need of a remodel. The vaity counter top had stains and was plain and boring. The cabinet was the same basic wood as the main bath. Time to make it a chicly cheap vanity.....
|
|
Strip it Down
First steps first strip the countertop and the cabinet. I used sand paper to sand the gloss off the marble and wood top. Then I used liquid sander to ensure I got all the gloss off the surface. Make sure the surface feels rough when completed. If needed repeat steps till you have a rough surface.
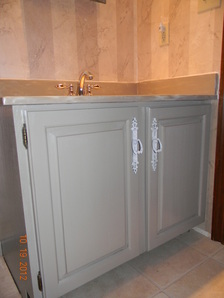
Paint on the Base
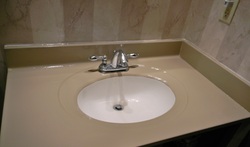
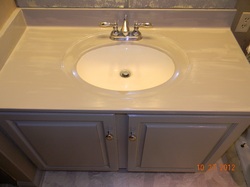
About 10 minutes after I applied the liquid sander I painted on the base color. For the vanity top I used tan as my base color. The cabinet I painted grey. Allow plenty of time for the paint to dry. Then apply a layer of poly on the cabinets.
Marble Touch
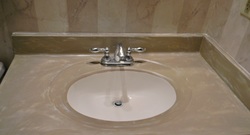
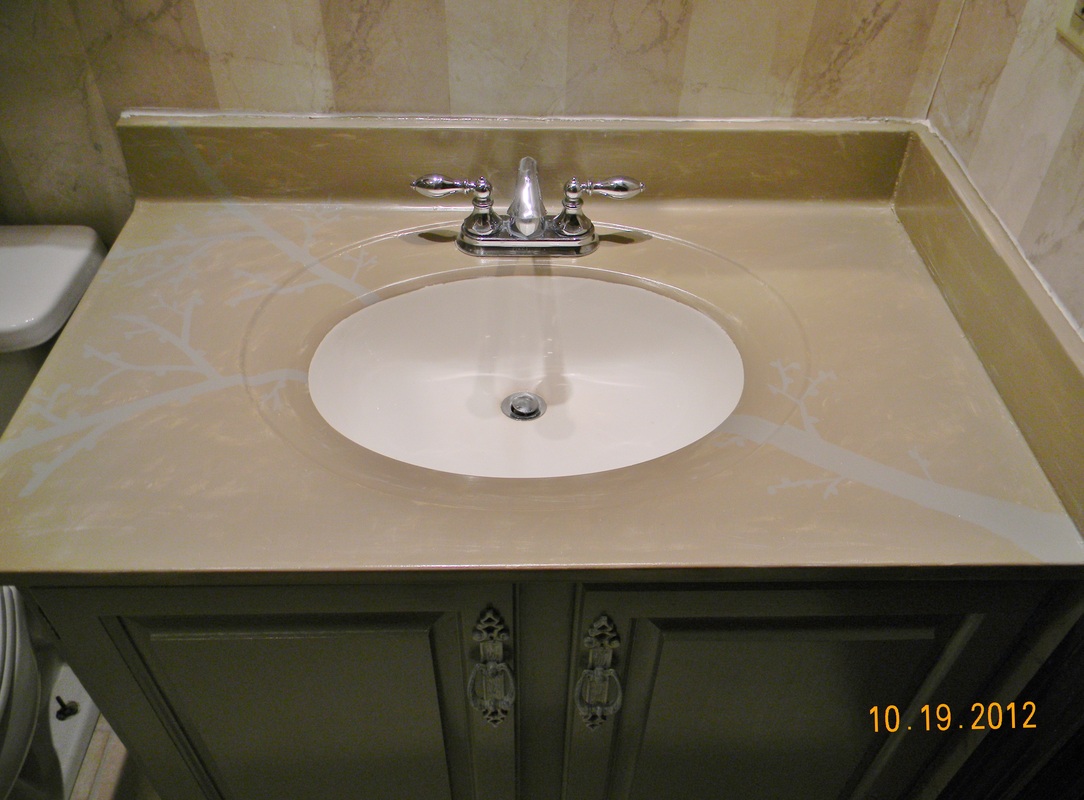
After the base paint on the vanity dried I took white paint to paint on a marble look. I put a little bit of white paint in my hand and smeared in on the counter. I rubbed it on in a swirling fashion. Then I took the original base paint in my hand and smeared a little over top the white again.
Personalize
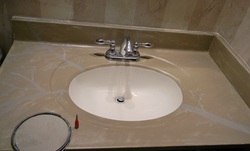
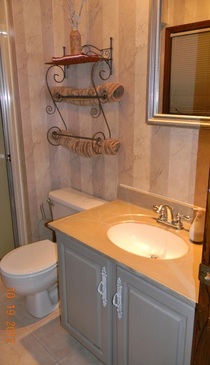
After the white paint dried I decided to add something a little extra to tie it all together. Over all, the house has a very earthy look. So I decided to take the grey paint that I used to paint the vanity cabinets with and paint on a tree branch across the vanity top. After allowing plenty of time for the paint to dry, I finished up by adding 3 layers of poly.
Chicly Cheap Bathroom Vanity
|
|
Nautical Look
The guest bathroom was also in great need of updating. I already had painted the room using beach colors (tan, light blue, and brown). Then I refinished the floor using the wallpaper flooring method (see wall paper flooring page). The wallpaper I used has some grey tones in it that I thought was perfect for a beach theme. I decided to really bring that tone out by painting the trim in the bathroom grey. The grey looked amazing. I decided to continue with the grey by painting the vanity cabinet grey.
Paint Vanity Top
I decided not to stop there. I wanted the vanity top to be grey, too. So I stripped the vanity top (sanded it and used liquid sander). After about 10 minutes, enough time for liquid sander to dry, I painted the vanity top grey.
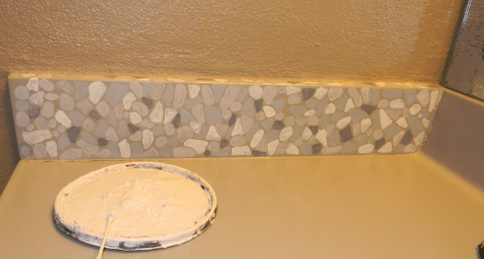
Pebble Detail
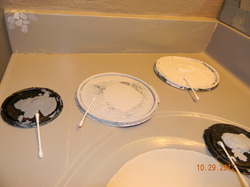
After the grey vanity top dried I felt like it was lacking something. I decided to add extra detail on the back splash. I used a variety of grey shades to paint on pebbles. I used a Q-tip to paint on random ovals, circles, and triangles to give it a pebble look. After it dried I added 3 layers of poly over the entire vanity.