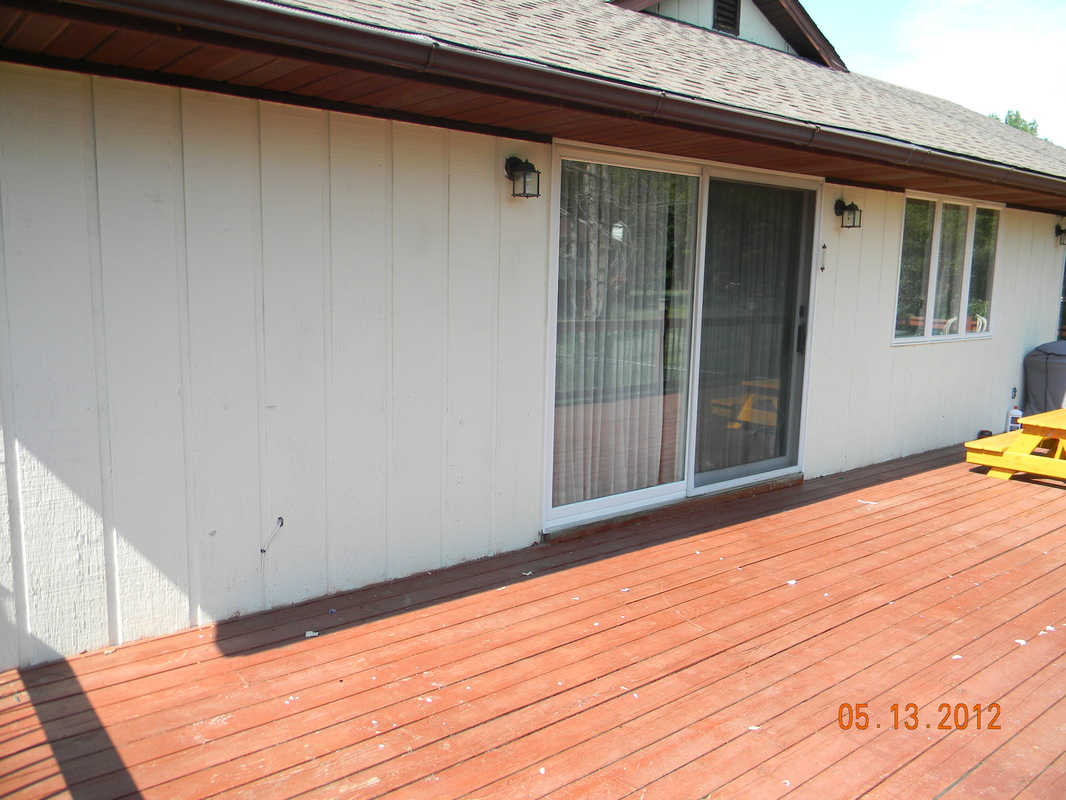
OK, so I am attemping to tackle the great outdoors. I must say gardening and outdoor decorating is quite the challenge for me. I decided to tackle my boring deck first. The space is HUGE, but has little to be desired right now.
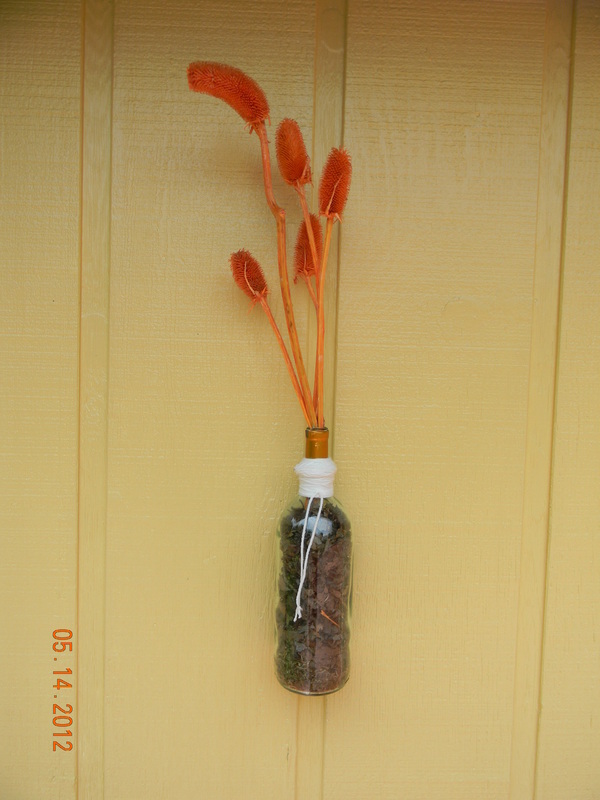
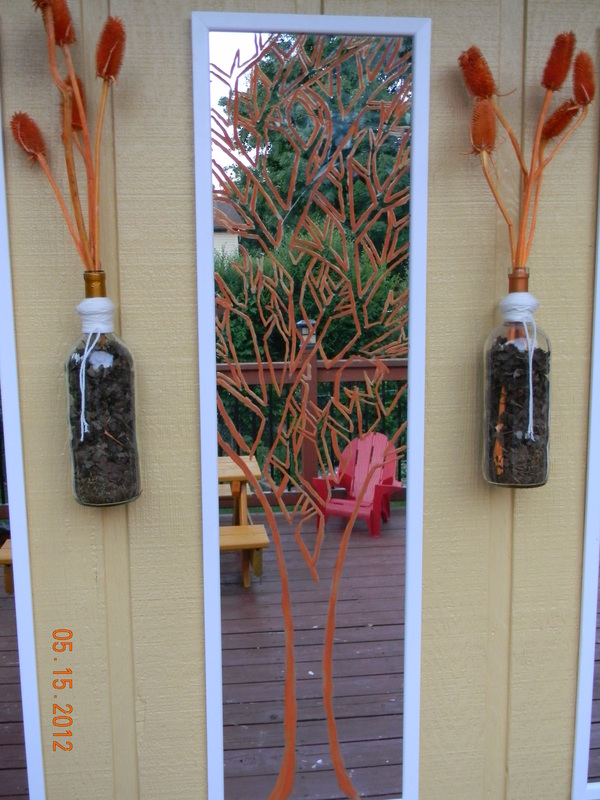
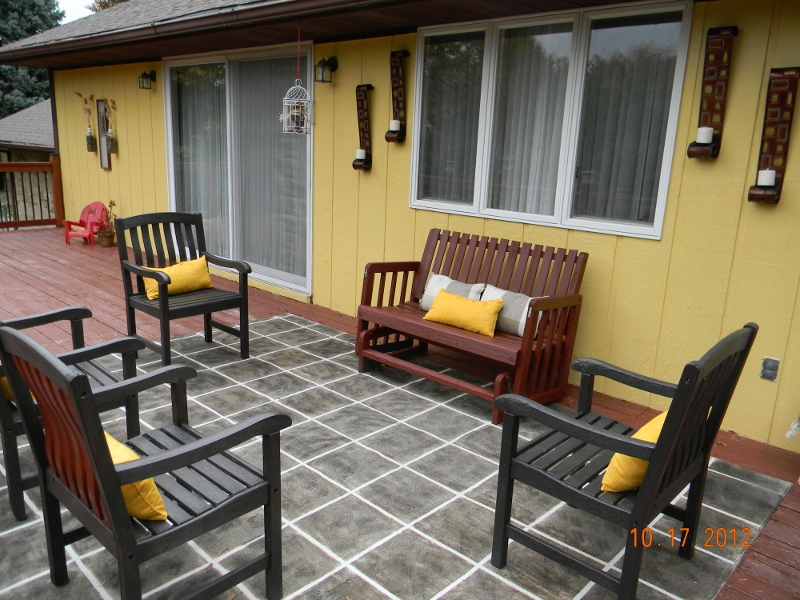
First step, paint. I painted the wall yellow, which was VERY scary!!! I was going to serve it as an accent wall. I plan to use the same color at the front entry way. Then I took wine bottle and filled them with irange accent plants and hung them on the wall with hook, I covered the hooks with yarn.
The I added 3 door mirrors to give it more of a reflective look. I painted the middle one to add a splash of color.
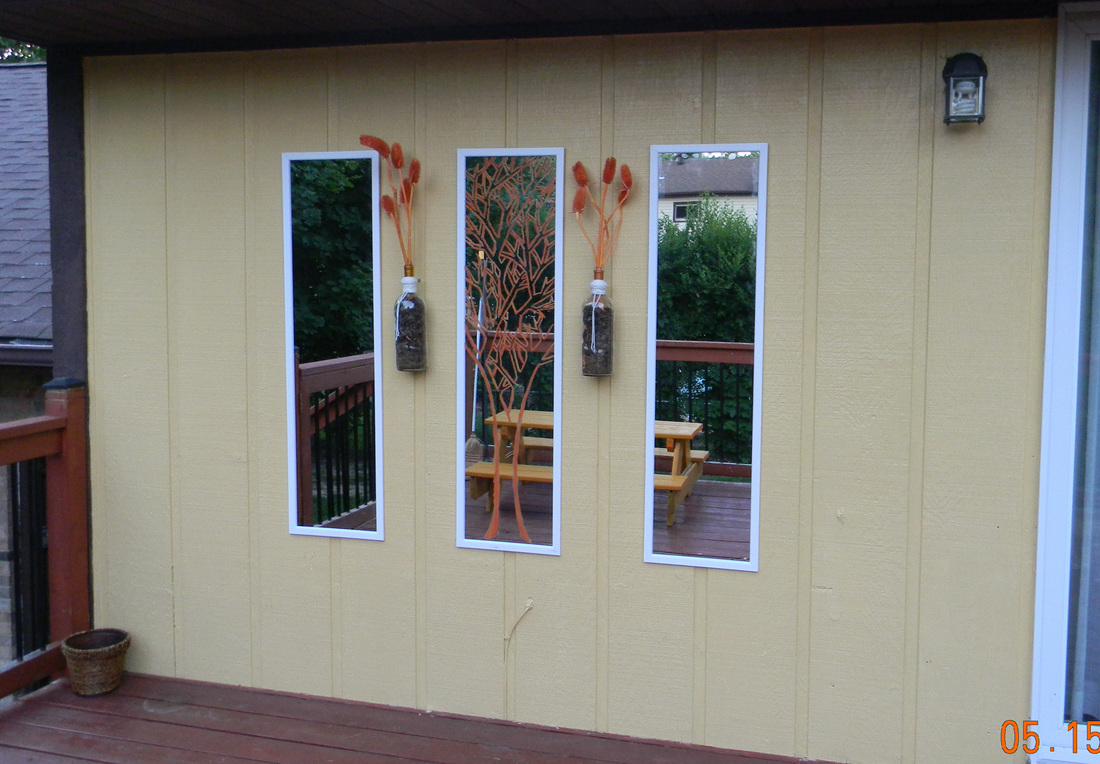
So here is the start of my deck outdoor living space. I will keep you posted on the new developments!
Rug Restoration
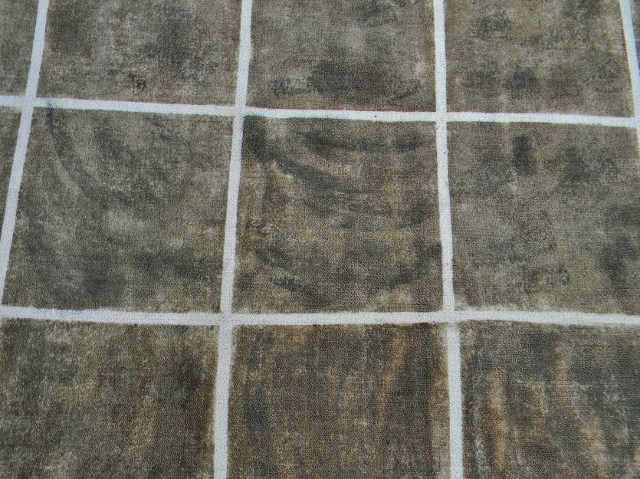
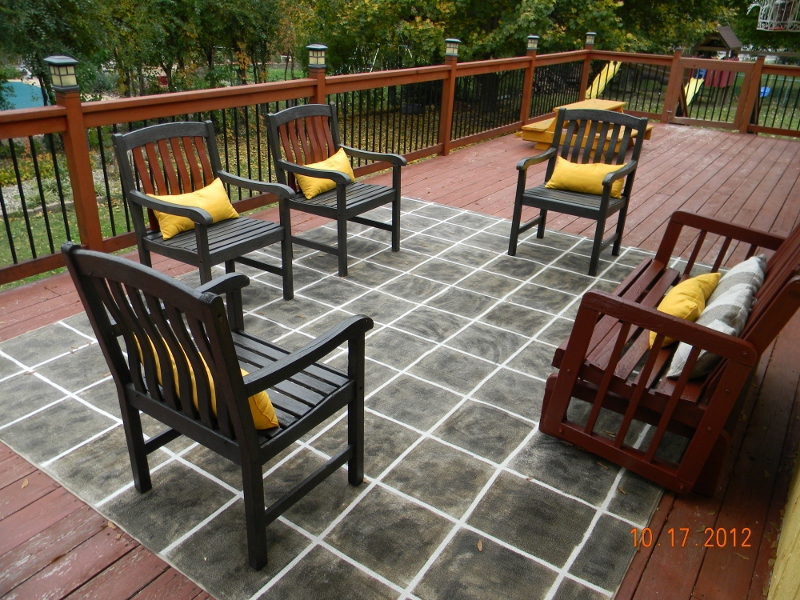
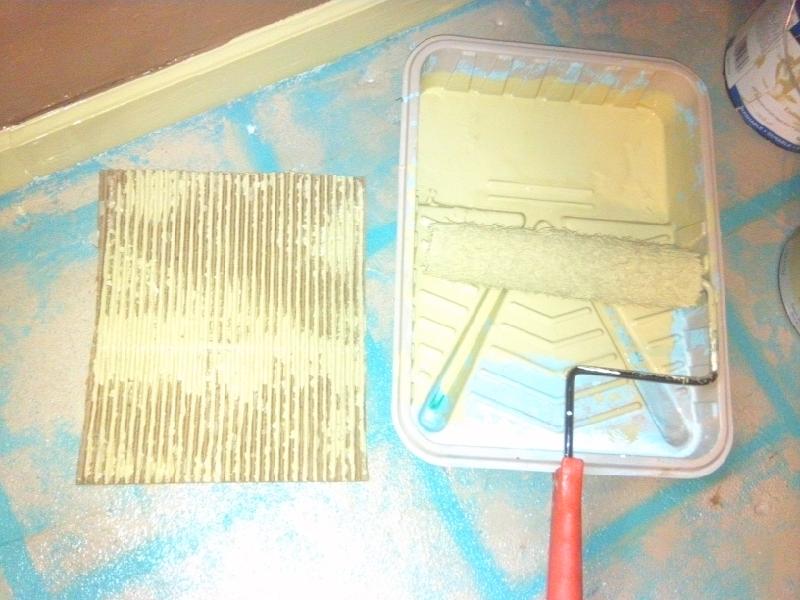
I had a huge rug that was all sorts of stained. I decided to stain the rug and use it as an outdoor rug. I taped the rug off in 12 x 12 squares. Then I took dark walnut stain and rolled it. Then I took ebony stain and used a brush to dab on a little bit of black on each square. Remove the tape and you have a chicly cheap outdoor rug.
Furniture Restoration

I found this beautiful outdoor furniture that was very worn. So I decided to take it and restore it. With a little bit of sanding and staining you have a whole new outdoor living set! Check out my chicly cheap outdoor furniture!
Stain with Style
My next idea I think is going to have to wait till next spring. Thought I would share my thoughts with you. My deck is slowly but surely coming along. The deck still is in desperate need of restaining. I figured since I need to stain anyway may as well add some style to it. So every about 5th board I am going to stain black. And make a horizontal black line every about 5 feets. Where the two lines intersect I am going to make a diamond shape. Keep you posted. Probably wont do it till next spring since it is starting to get cold.

 RSS Feed